CC Control Rig Is Here
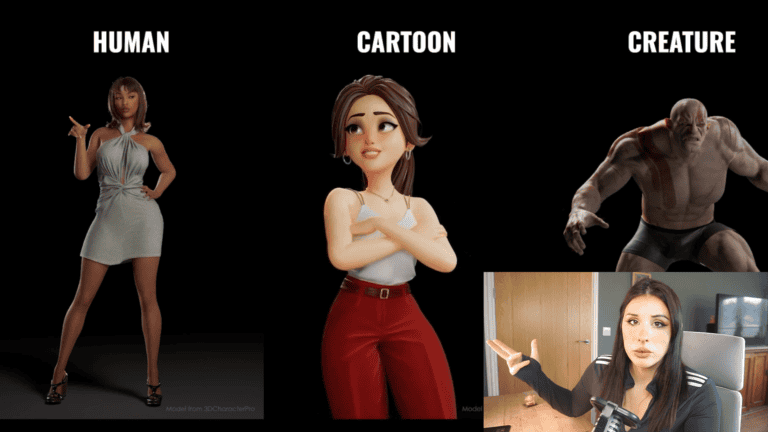
Rigging custom characters in Unreal Engine can be a tedious process, but the new CC Rigs plugin changes everything. This innovative tool converts CC3+ characters into Metahuman rigs for both body and face, making it easier than ever to create custom characters—whether human, creature, or cartoon. Say goodbye to the limitations of custom character creation in Unreal Engine. This is a true game-changer.
Key Features of the UE CC Rigs Plugin:
Wide Compatibility: Although CC Rig was primarily created to import Character Creator 3D models, this tool allows for Imports from popular platforms like Daz3D, Maya, and Blender, automatically converting the skeletal body for use in Unreal Engine via the Accurig free plugin, this then can be convert to CC RIG (Reallusion)
Enhanced Animation Editing: Allows detailed animation editing within Unreal Engine, including importing motion files, creating custom animations, and organizing motions using the Perform List Editor, you can even transfer Metahuman control rig animations over….yeah! (Reallusion) (Reallusion).
Custom MetaHumans: Facilitates the creation of custom MetaHumans by transferring CC head shapes and textures to Unreal Engine, producing highly realistic digital actors compatible with Unreal Engine and iClone (Reallusion).
Asset Optimization: Using Character Creator workflow this provides tools for importing, editing, and optimizing character assets, including mesh conversion, InstaLOD optimization, and prop management (Reallusion Magazine).

Getting Started:
Character Creation:
- Use Character Creator, available with a 30-day trial. Start with a base mesh template to simplify the initial steps. Adjust the facial profile and body using the intuitive slider system.
Additional Sculpting:
- If you need further customization, use the Blender pipeline or the GoZ plugin for ZBrush to sculpt your character and bring it back into Character Creator.
Importing External Characters:
- Import characters created externally and convert their rigs to CC3+ compatible rigs using AccuRIG.
Extensive Customization:
- Add hair, skin textures, clothes, and accessories to your character. Utilize Reallusion’s extensive catalog, or create your own in Blender or ZBrush. It’s also compatible with Marvelous Designer.
Animation Process:
- Once your character is ready, export it from Character Creator into Unreal Engine to convert into CC Rigs. Personally, I prefer using iClone for animation. I transfer my character with the one-click solution into iClone, set up my animations, and then convert into CC Rigs.
Step-by-Step Guide to Using CC Rigs in Unreal Engine
Install the Plugin:
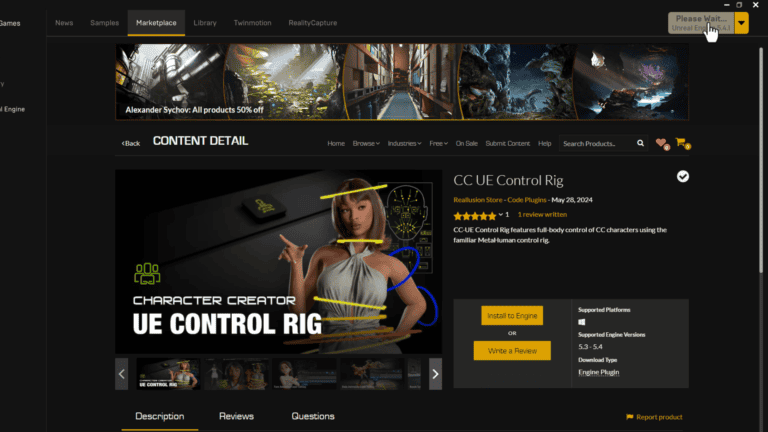
- 1. Sign in to your Epic Games account, and download the plugin for free from the Epic Games market place here
- 2. Enable the Plugin:
- Create or use an existing Unreal project. Load a project and navigate to
Settings > Plugins (Top right of the screen), search for Character Creator UE Control Rig, and enable it. Restart (Restart Button Will be on the bottom of the window) 3. Transfer Your Character:
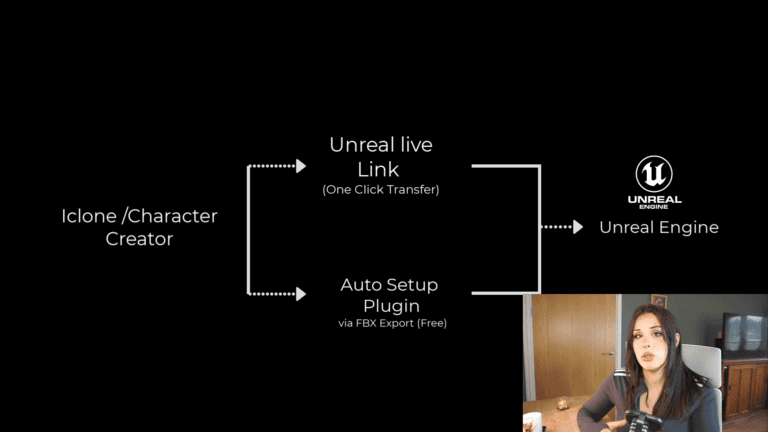
- Use Iclone Unreal Live Link or Auto Setup (Free) to transfer your character to Unreal Engine.
- If you using the auto seteup route install from here for free, and follow the instructions to setup in UE. Once installed you can go File> Export FBX > Clothed character Target Unreal engine, check delete hidden mesh.
- Then import into unreal ready to convert to UE CC rigs.
- Create or use an existing Unreal project. Load a project and navigate to
- 2. Enable the Plugin:
4.Convert to CC Rig:
- In Unreal Engine find your character’s skeletal mesh in the content panel, right-click, and choose Create CC Rig from the pop up menu.
5. Animation Setup:
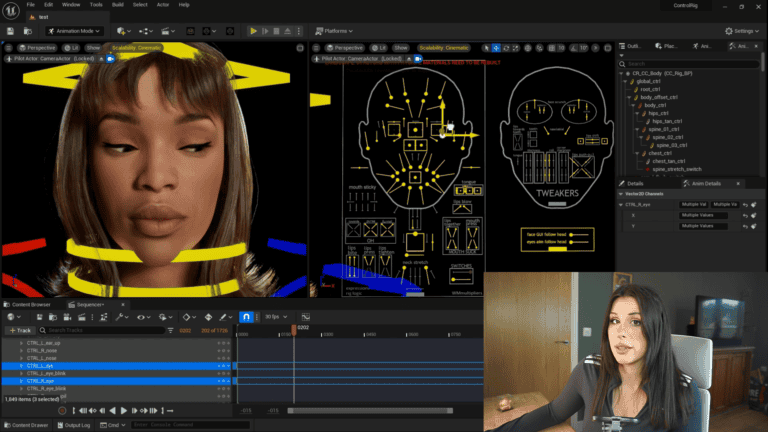
- Add your character’s blueprint to the sequencer, load animations, and bake keyframes for easy editing. (Much easier to see this in the video)
Final Touches and Animation Refinement
- Refine your animations by adding keyframes directly in the sequencer. This system will significantly improve your workflow and reduce your timelines.
Final thoughts:
This plugin is a game-changer for Character Creator and iClone users. If you’re not already a user, try the 30-day trial. I’m passionate about Reallusion’s products and wouldn’t recommend them if I didn’t believe they are great.
Links and Resources:
- Let me know if this exciting news helps you, whether you’re a studio, an animator, or an enthusiast. And as always, it’s been a pleasure! Thanks for reading and watching my video! Leave a comment on the video to let me know someone has read this haha!
More To Explore
About
Prompt Muse is your go-to Website and YouTube channel for all things A.I. / image-generating software / News & Reviews! We provide up-to-date tutorials and reviews to help you make the most of your software.
Join The Prompt Muse Gang!
Get the latest A.I News, Reviews, and tutorials, hand-picked by A.I depending on your preference and sent directly to you.
Prompt Muse, © 2024


