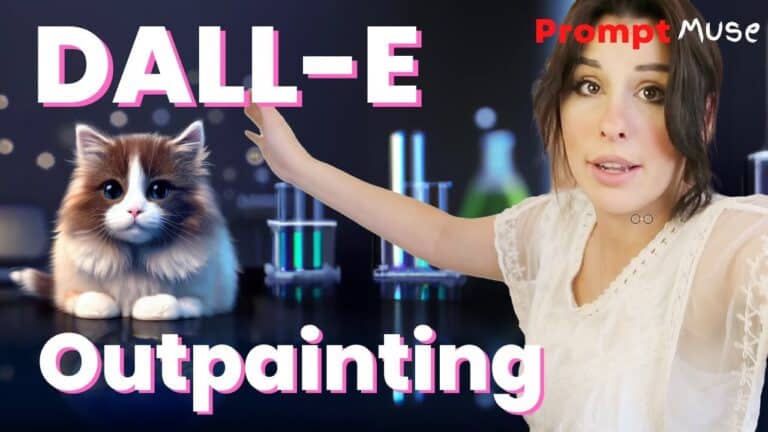
Welcome to a brand new prompt news video. Today we’re going to be doing the first of our Dali Two series, and I’m going to be showing you a brand new feature within Dali called Out Painting. And if you’ve been living under a rock, you may have not noticed that Daly Two is now open to the general public, which means you do not need an invite anymore. You can sign in and just register for an account and get started using Dali Two for free. So Dali Two gives you 50 free credits for your first month when you get started, and after that it costs $15 for 115 credits, and 115 credits equates to 460 images.
I think Darley Two probably has the most simplistic and intuitive interface. I feel like the data set was definitely trained on stock images. The outpaint feature is really cool. It allows you to imagine we it allows you to imagine what outside the boundary of an image would look like using artificial intelligence. You can also direct the imagery outside the boundary of the image using prompt.
For me, I’ve been using it for when I create images imagery, and they’re perfect, apart from they’ve copped the outside areas off or half a face or a nose or whatever. And then I can bring it into Dali Two Out Painting and then reimagine the outside of the image. You can also increase the aspect ratio of the image, giving you wallpaper or portrait style. I’m really excited to bring you this video today because I think it’s such a cool feature and obviously it’s going to be developed on within the future. Just log in or sign up for an account absolutely free.
I could be using my brother’s account today. Thank you. So this is the introduction screen, which you see where you can generate your prompt from here. We’re not going to be using this prompt section today, or we’re going to be heading over to the outpainting section. So you see this new button.
Try out painting open editor. So if we quickly look at the interface, there’s not much to look at. I’m just going to close this window down, letting us know about the beta version. All our tool sets are here. You’ve got five tools.
You pan button, an eraser tool and add generation frames so you can add sections onto your image. And then we have an upload image where you will upload your image that you want to add onto. So this is our generation frame. By default, it’s 1024 by 1024. So I’m going to take a picture of this room and we can use AI to imagine what is in this area and this area only.
I know the secrets of this room, but AI can use its imagination and with the help of prompting, we can sort of steer it into a direction. So I’m going to click on the upload image to upload the photographs that I took with my camera and then place it anywhere in the canvas. And once I’m happy, press the tick button to place or delete and then start again and upload another image. So I’m just going to place that there in the canvas. You can move the generation frame around your image.
So let’s say I wanted to know what’s over here. It will use this big square here and reimagine with AI what this area looks like the same for going from the side or down there or up there. Let’s reimagine what’s over on this side over here. I’m not actually going to tell you because it’s a secret and it will remain with me off this room and we’ll see what it will generate. I’ll bring it slightly and it’s going to be pulling the information from the photo.
Then using an algorithm to determine what suits the imagery best. I’m going to click Generate here on the prompt and then a blue bar will appear at the bottom of this generation box. And once it’s gone across, that means your image will complete. It takes a few seconds, it doesn’t take long at all. Okay, so that’s apparently what this room looks like behind me accordingly to the algorithm.
And you see on this toolbar down here you’ve got Council and Accept that you can cancel the generation and restart it if you’re not happy with the options it gives you. It gives you four generations at the bottom here and you just use the arrow here to toggle through the options.
This is quite cool. That could be the area. There’s the person who edits these videos rather badly in the background. And I’ve got a nice laptop, somebody’s desk over there, a really big arm with a hairband on. I don’t actually have any hair bands on, but good try, good try.
I like this. It looks like I’m working in some sort of corporate environment, not my home. So we’re going to click Accept and then we’re going to move the generation frame over here to see what’s on my desk or what Darley Two thinks is on my desk. So let’s generate that image. And you can see here it’s generated the top of my hair as well.
It’s not a perfect programme and it’s not going to give you exactly what you want every time, but it’s really cool. For again concepting and then using to overpaint in other pieces of software. It’s got my monitor in, it’s finished to the edge of my iPad, which is cool. It’s put a window in front of me here and then if I skip through the options I’ve got some drafting paper here. Excellent.
Bigger desk there’s, my receptionist there. I quite like that one. That seems to fit the theme nicely. So you will get errors like this blue bar here. But what you can do is use this eraser tool and just erase.
And I think you do fill works in the image very well and then regenerate again. And there you go. I’ve got several more options because I erased those sections I didn’t like, so it’s given me some alternative options there. Now, it’s not a perfect tool, but it’s really powerful and it shows you what we’ll be getting in the future. And what’s frustrating is that you do have to use a lot of credit.
Another cool thing that we can do, we don’t have to use the outpainter section by section. We can import an image that has transparency around it. And let Dolly to reimagine the entire area. To show you how I do that, I’m going to open that midjourney image in Photoshop. You can use GIMP, Ms, Paint, any programme that you can rescale an image in.
And I’m just going to rightclick on the image window at the top. On the top bar and canvasize. Change that to pixels. I’m going to make it the same canvas size as in Darley, so it’s 124 by 124 pixels. So that gives me an outsized area.
I’m going to switch the background off or delete that completely. It doesn’t matter. All you want is the transparent area around the edge. So this is a bit of a cheating way to be able to get more credit for your buck. So I’m going to scale it down slightly into the middle.
Doesn’t have to be too accurate. And so now when I import this image back into Darley, I can run one generation frame over the top of it, because the generation frame is 124 by 124. If you wanted a higher res image, I wouldn’t suggest doing this, I would suggest just adding the pieces on so it would increase the size of your image. But if you’re like me and boring somebody else’s account, this might be a better way of saving credits. So I’m going to save that image back as PNG with transparency.
And then we want to load that same image that we just created in Photoshop with the transparency around the edge. I’ve shrunk the image so it’s within the 124 by 124 frame. I will allow Darley to now reimagine the entire background of this cat. So let’s place that guy there. Let’s put cute cat in Science Lab and generate.
So this might actually save you on credits, rather to do section by section. That can be really costly. There you go. That is a pretty sweet image now, and it looks like it all fits in. The cat is nicely blended into the background and again, it will give me the four options that I could use that looks really cool and would work really well as a wallpaper.
You can then let’s see what my favourite is. That’s cute.
That’s cute. I’m going to go accept on that one. You can add a generation on the frame to extend the resolution of the image. So if you wanted to make a wallpaper and then you can edit the prompt further. So cheat cat in science lab.
If I press generate on that, it might create me an extra cat. So I just put science lab and generate. And what it will do is blend the seams of the generation frame to the image that’s already created and calculate what would work best in that area. That’s giving me just a blank wall and some sort of science Lab experiment. That looks really cool.
I’m not sure what that is. Sometimes these geratrons can be a bit funky and you’re paying for them, which is slightly annoying, but there you go. I think that looks quite cute. Or you could go simple and not really have anything there or that works quite well. We can accept that.
So let’s say you don’t like these beakers here. Again, you can use this eraser tool and just erase the areas that you do not like in the image. So I’m just going to take that bad boy out and then use the generation frame and regenerate. So it’s keeping the speaker that was in the last generation and then regenerating the area that I rubbed out with something that should work a bit better. So you can do this with any areas of the image and I think that eraser tool is really, really powerful.
But again, you’re using your credit just to fix things. And yes, that’s the annoyance, that these things that aren’t free, but people are working hard on getting these tools out and a beautiful interface, so we’re going to have to pay for their work somehow. You can use the arrows to go across and sometimes Dali Two really, really wants to put text in and it never comes out nice. Well, not yet anyway. So it just will randomly plunk some text in.
Give me some options. I actually just like Simplistic Blue there, except it got a really cute image. And then you just click Download here and that will download the image to your downloads folder. You can then take it into Photoshop, or if you don’t need to, for instance, this image is quite good, I can just generate the other side and then I’ve got desktop wallpaper if you ever want to return back to your images. All your images are saved in my collection on the Dali Two website.
So you can go back to them and I hope, as always, this video has helped you. Actually, it was the second time I filmed this video. The first time I filmed it, I had the flu. I rewatched it and I was not making any sense at all. I was completely delirious for any reason.
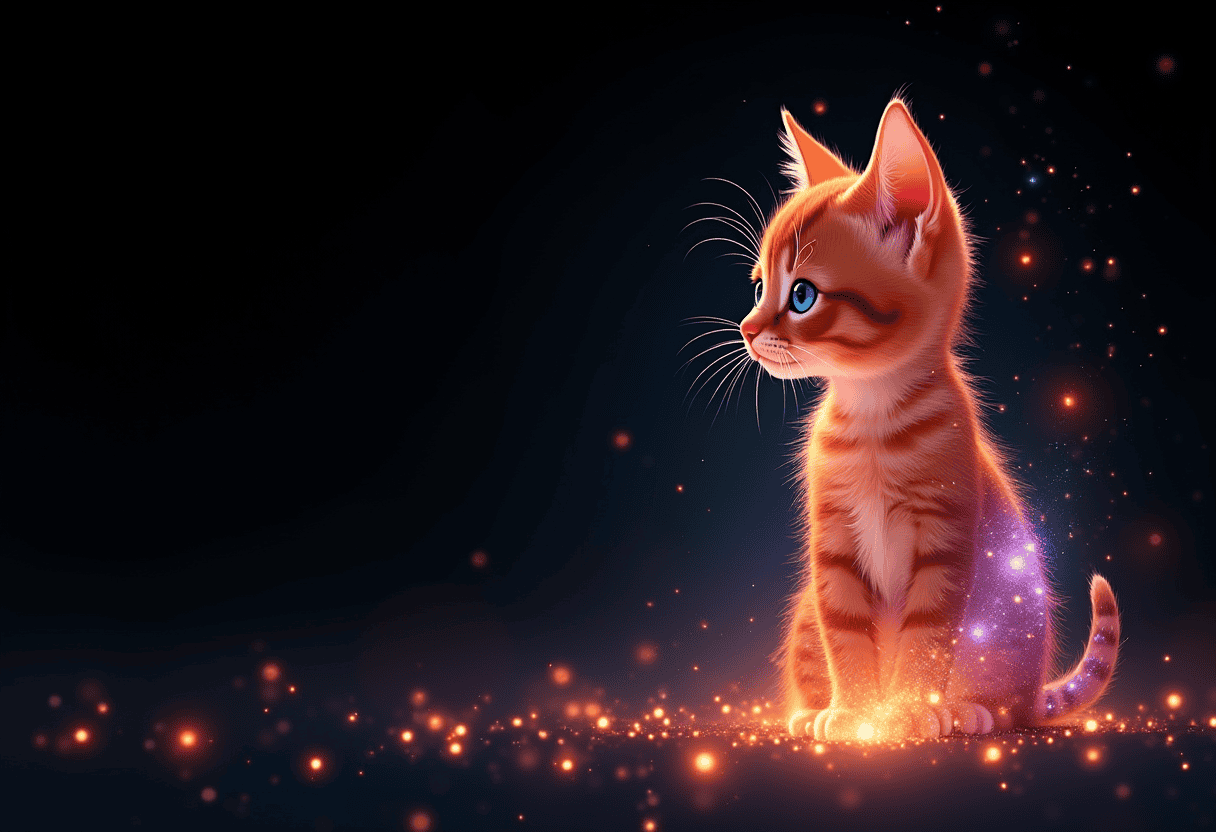
If anybody wants a scared cat sitting in a laboratory, feel free to download this wallpaper from my website, which is promptmuse.com. Again, I’d like to say thank you very much for my brother for sponsoring this video. And when he sees my face in his collection and how many credits have used he’s probably going to kill me. So hopefully this isn’t my last video. But thanks very much again.
Until next time. That will do it. Bye.
