Mocap with Custom Characters
Introduction
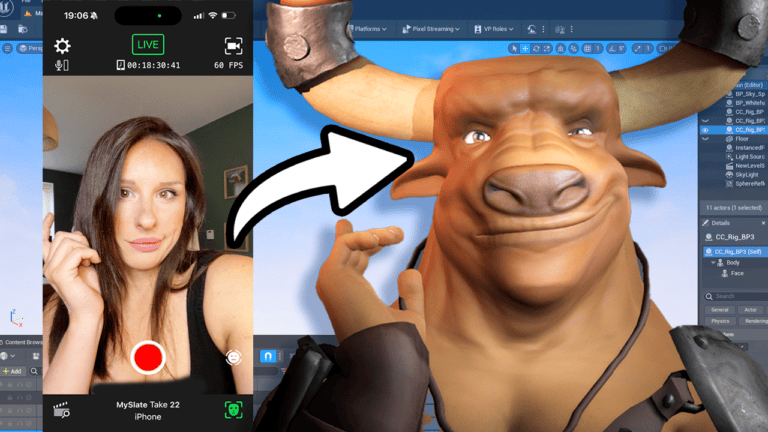
Welcome to this written tutorial on how to animate custom characters in Unreal Engine using the Live Link Face app. This guide will show you how to easily transfer facial animations from your iPhone to your custom characters, including setting up body animations. Full video here
What You’ll Learn
- How to set up and use the Live Link Face app with Unreal Engine
- How to import and animate
- characters from Character Creator
- How to add body animations to your characters
Prerequisites
- Character Creator: Used to create and export your character (currently 40% off with a 30-day trial).
- Unreal Engine: Ensure you have it installed.
- Quixel Bridge: Download and install from the Epic Store Marketplace.
- CC Rig Plugin: Available on the Epic Store Marketplace.
- MetaHuman Plugin: Install from the Marketplace.
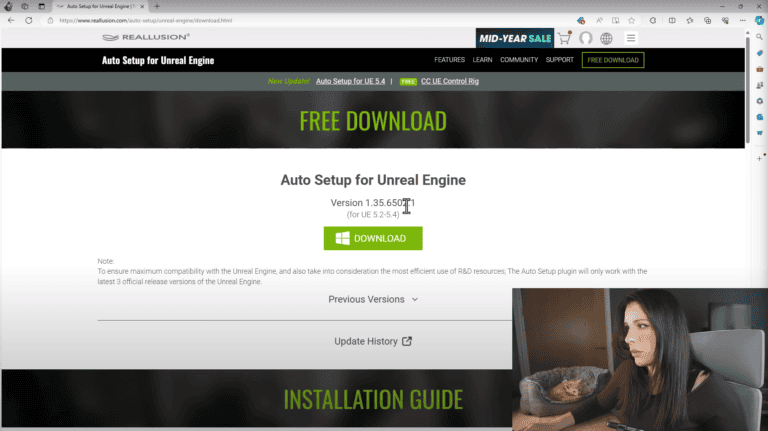
- Unreal Auto Setup: Download from the Reallusion website.
- Live Link Face App: Free on the App Store via your phones app store
Ensuring All Plugins Are Active In Unreal Engine:
To ensure a smooth workflow, you need to make sure all necessary plugins are active in Unreal Engine. Follow these steps:
- Activate Required Plugins:
- In the Plugins window, use the search bar to find each of the required plugins:
- Quixel Bridge
- CC Rig Plugin
- MetaHuman Plugin
- Unreal Auto Setup
- Live Link
- Apple ARKit (for ARFaceKit functionality)
- Make sure each of these plugins is enabled by checking the box next to their names.
- Click Restart Now if prompted to restart Unreal Engine after enabling plugins.
- In the Plugins window, use the search bar to find each of the required plugins:
- Activate Required Plugins:
Step 1: Create an Unreal Project
(Installing the Auto Setup as a bridge from Character Creator to Unreal Engine)
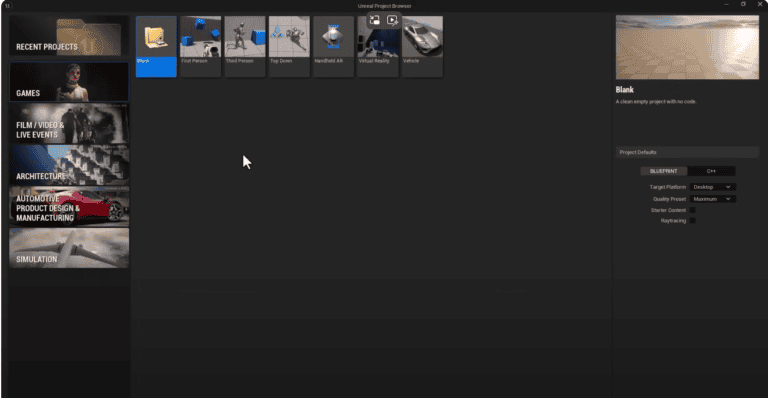
- Launch Unreal Engine and create a new blank project.
- Name the project (e.g., “AutoTutorial”) and create it.
- Close the project to install the necessary files.
Step 2: Install Unreal Auto Setup
- Download the Auto Setup from the Reallusion website and unzip it.
- Run the setup executable file.
- Copy the contents and plugin folders from the downloaded files to your Unreal Engine project folder (e.g., Documents > Unreal Engine > AutoTutorial).
- Replace the files when prompted.
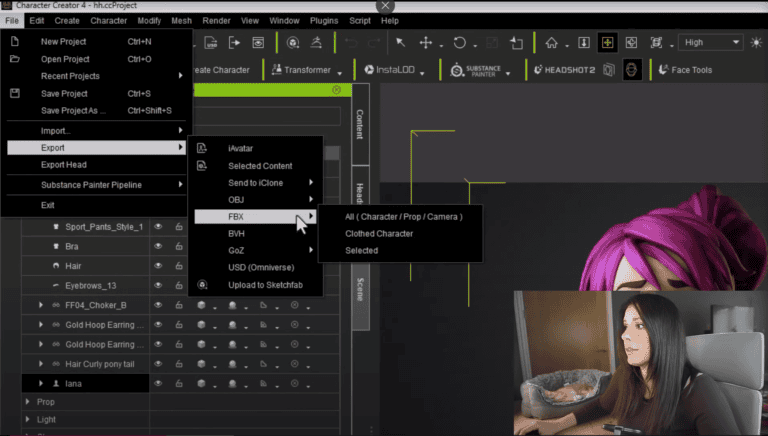
- Open Character Creator and select your character. (Has to be a CC3 character)
- Export as FBX with Unreal Engine as the target preset. File>Export>FBX>Clothed Character
- Import the character into your Unreal Engine project, ensuring CC Control Rig is installed.
Step 4: Setup MetaHuman
- Import a MetaHuman character via Quixel Bridge and add it to your Unreal project.
- Set up Live Link Face App on your iPhone and ensure it is connected to your computer.
Step 5: Connect MetaHuman to Live Link
- In Unreal Engine, select your MetaHuman character.
- Set up the Live Link connection in the details panel and ensure facial tracking is active.
Step 6: Recording Animation
- To record in Unreal engine you need to set up a Level sequence, think of this as your time line to add animation to. Below are the steps to setup your level sequencer and record your facial animation via your Iphone to the sequencer:
Create a New Level Sequence:
In the Content Browser, right-click and go to Animation > Level Sequence.
Name your sequence and double-click to open it in the Sequencer.
Add Your Metahuman to the Sequence:
In the Sequencer window, click the + Track button.
Select Actor to Sequencer, then choose your Metahuman character from the list.
Start Recording:
During the countdown, ensure your ARFaceKit device is capturing your facial movements. Perform the desired expressions and movements.
Click the Record button in the Sequencer toolbar (Red Button Left of the screen) A countdown will begin.
Stop Recording:
Once you’ve finished the performance, click the Stop button in the Sequencer toolbar.
The recorded animation will appear as keyframes in the Sequencer timeline.
Review and Edit the Animation:
Scrub through the timeline to review the recorded animation.
You can adjust keyframes, refine movements, and blend animations as needed for a polished result.
Save Your Work:
Always save your Level Sequence and project to avoid losing any progress.
Step 7: Baking The Key Frames
- After stopping the recording, select the recorded track in the Sequencer.
- Right-click on the track and choose Bake To Control Rig > Face_ControlBoard_CtrlRig. This process will convert the live link data into keyframes, which we now can copy and paste on to our custom Character.
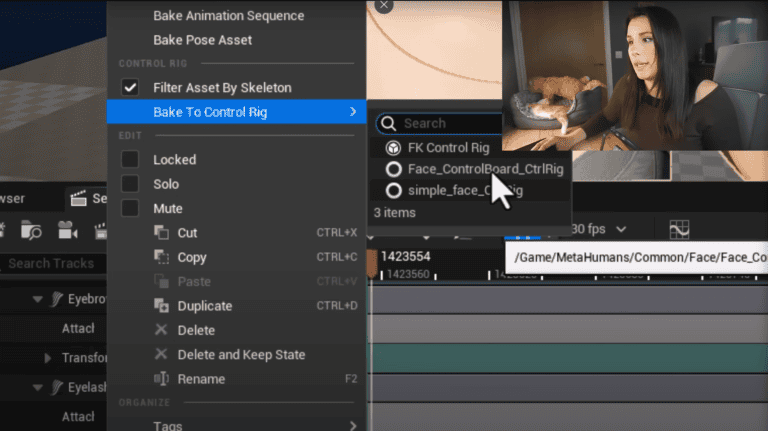
Step 8: Baking The Key Frames
Select the baked keyframes in the Sequencer for your Metahuman character.
Right-click and choose Copy.
Add your Character Creator (CC) character to the Sequencer by clicking the + Track button and selecting your CC character.
Navigate to the appropriate track on your CC character where you want to paste the keyframes.
Right-click on the track and choose Paste to apply the baked keyframes to your CC character.
Conclusion
That’s it for this tutorial on using the Live Link Face app to animate custom characters in Unreal Engine. If you have any questions or want to share your creations, feel free to tag me on social media @PromptMuse
DOWNLOAD LINKS
Thank you for joining me, and happy animating!
More To Explore
About
Prompt Muse is your go-to Website and YouTube channel for all things A.I. / image-generating software / News & Reviews! We provide up-to-date tutorials and reviews to help you make the most of your software.
Join The Prompt Muse Gang!
Get the latest A.I News, Reviews, and tutorials, hand-picked by A.I depending on your preference and sent directly to you.
Prompt Muse, © 2024


