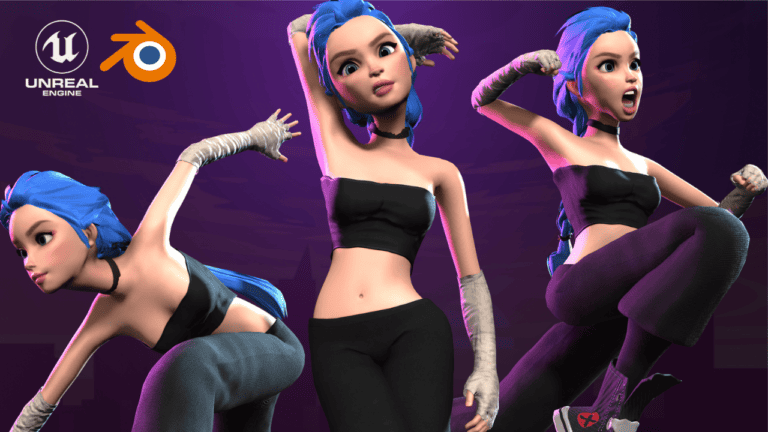
In this tutorial, I will guide you through the process of animating your game characters and importing them into Blender and Unreal Engine 5. This tutorial is designed for those who don’t have a budget for expensive animation software or motion capture suits. The full tutorial video of this process can be found on my Youtube channel here.
We will be using a software called “Cascadeur,” which has been around for about 10 years and offers a free version with some powerful animation tools. While this method is not a replacement for professional animation software or mocap, it’s a viable alternative if you’re on a tight budget.
Note: Before you start, make sure you have Cascadeur and Accurig installed on your computer. You can download Cascadeur from the official website, and Accurig is a free auto-rigging tool that complements Cascadeur.
<iframe width=”560″ height=”315″ src=”https://www.youtube.com/embed/ScQTV2Xb–0?si=_4-LUd5vW3w7Nz64″ title=”YouTube video player” frameborder=”0″ allow=”accelerometer; autoplay; clipboard-write; encrypted-media; gyroscope; picture-in-picture; web-share” allowfullscreen></iframe>
Let’s get started!
Part 1: Rigging Your Character in Accurig
- Open Accurig and click on “Choose File” to select your 3D character’s FBX file. You can use a sample character from Cascadeur, Mixamo, Sketchfab, or your own custom character.
- After loading your character’s mesh, click on “Rig Body” to generate the joint structure for your character’s skeleton.
- Accurig will display circles where joints should be placed. Ensure symmetry is checked to work on one side of the character.
- Position the joint guides according to your character’s anatomy, following the on-screen guides for reference.
- Use the tools in the bottom left corner to rotate and move around your character for precise joint placement.
- Repeat the process for other body parts, such as arms and legs, ensuring correct joint placement.
- Use the “Preview Motion” window to check the animation on various body parts, including fingers.
- Ensure your character is in a neutral pose (A-pose or T-pose) before exporting.
- Click “Upload to AccuRig” and then “Export” > “Export FBX.” Set the target application to “Maya” and check “Embed Texture.” Click “Export” to save the rig.
- Export another FBX file of your character’s base mesh but set the target application to “Blender” for later use.

Part 2: Creating a Basic Idle Animation in Cascadeur
- Open Cascadeur and start a new scene. Import the FBX file with Maya settings that you exported from Accurig.
- Cascadeur will ask if you want to enter “Rig Mode.” Click “Yes.”
- In the “Rig Mode Helper” dialog, click “Yes” and then “OK” on the next dialog.
- Click “Add Rig Elements” at the bottom of the “Quick Rigging Tool” dialog.
- Rotate your character by holding ALT and the left mouse button to navigate.
- Select the “Auto Pose” tool to enable automatic control point positioning as you move your character.
- Position your character into an initial pose for your idle animation by moving and rotating control points. Use ‘W’ to move and ‘E’ to rotate.
- Add a keyframe at frame 10 by clicking the key icon.
- Change the hand pose on frame 10 to create a hand open/close animation.
- Duplicate the first frame to frame 20 and mirror the pose for variety.
- Duplicate the second keyframe to frame 35 and mirror it to frame 45.
- Extend the timeline to add more frames for smoother animation (e.g., 200 frames in total).
- Copy the first frame to frame 145 and the second keyframe to frame 110.
- Apply bezier curve interpolation for smoother animation between keyframes.
- Review and refine your animation by adding subtle movements, such as chest and shoulder motion.
- Create a seamless loop by ensuring the first and last frames are identical and adjust frame numbers accordingly.


Part 3: Exporting the Animation to Blender
- Export the animation from Cascadeur to Blender by going to “File” > “Export” > “FBX.” Name the file and click “Save.”
- In Blender, import the animation by going to “File” > “Import” > “FBX.” Use the default settings and click “Import FBX.”
- Delete any existing objects in the Blender scene and select the imported Armature.
- Adjust the Armature’s rotation to face the front and place it in the scene.
- Create an animation track for the imported animation and rename it.
- Copy the animation keyframes from the imported Armature and paste them onto your character’s Armature.
- Delete the imported Armature to keep your scene clean.
- Create an animation loop for your idle animation in Blender using the NLA (Non-Linear Animation) Editor.
-

Blender_Animation_Import

Part 4: Exporting the Animation to Unreal Engine 5
- In Unreal Engine 5, create a new project and organize your project folder.
- Import your character’s 3D mesh into Unreal Engine by right-clicking in the “Content” folder, selecting “Import,” and choosing your FBX file. Ensure it’s assigned to the correct skeleton.
- Add a Level Sequence to your project by right-clicking in the “Content” folder and selecting “Level Sequence.”
- Drag your character’s skeletal mesh into the Level Sequence.
- Add your idle animation to the Level Sequence by clicking the plus icon and selecting the animation.
- Adjust the timeline as needed and press the spacebar to preview your animation.
- Extend the timeline and blend your idle and walk animations for a seamless transition.
Part 5: Adding Free Mocap Data
- Visit the ActorCore website and explore the free motion resources.
- Download free motion data compatible with Cascadeur.
- Import the downloaded motion data into Cascadeur, and apply it to your character as needed.
- Refine and customize the imported motion data to suit your character and animation needs.
This tutorial should help you get started with animating and importing your game characters into Blender and Unreal Engine 5 using Cascadeur. Feel free to explore further features and animation possibilities in Cascadeur to enhance your character animations.
Remember, practice makes perfect, and with time, you’ll be creating stunning animations for your game characters. Enjoy animating!


