There is a new contender in the AI art generator world, perhaps set to take AUTOMATIC1111s crown of leading UI for stable diffusion and here is why. I’ll also guide you through the installation so you can try it for yourself.
InvokeAI is a free, open-source text-to-image generator that operates on the Stable diffusion model, similar to AUTOMATIC1111’s WebUI. It allows users to access the application through a web browser and boasts a user-friendly interface.
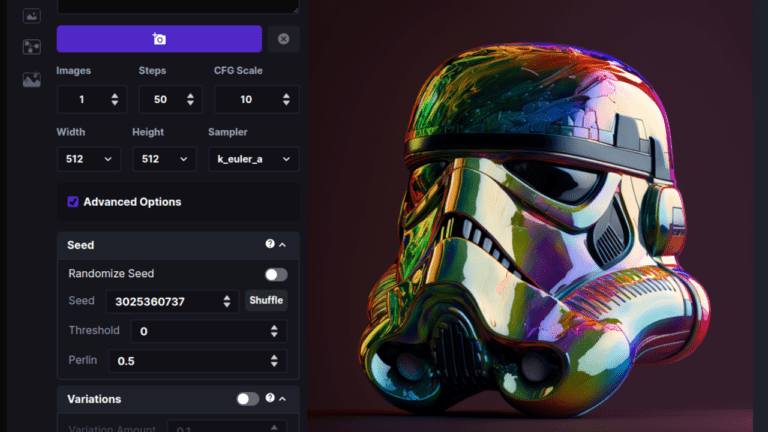
It has everything we come to expect from a good text to image generator UI including a variety of features, including image-to-image translation, out painting, and in painting, to help users create high quality AI-generated images.
While the installation process is relatively straightforward (especially compared to AUTOMTIC1111), there are still a few steps to follow and certain hardware requirements to keep in mind. It runs on Windows, Mac and Linux machines, and runs on GPU cards with as little as 4 GB or RAM.
InvokeAI was developed by a community of open-source developers and is available on GitHub.

Hardware Requirements
An NVIDIA-based graphics card with 4 GB or more VRAM memory.
An AMD-based graphics card with 4 GB or more VRAM memory (Linux only)
An Apple computer with an M1 chip.
We do not recommend the following video cards due to issues with their running in half-precision mode and having insufficient VRAM to render 512×512 images in full-precision mode:
- NVIDIA 10xx series cards such as the 1080ti
- GTX 1650 series cards
- GTX 1660 series cards
How to install
Download the .zip installer below for your OS (Windows/macOS/Linux):
Windows Installer
Unzip the file into a convenient directory. This will create a new directory named “InvokeAI-Installer”If you are on Windows, double-click on the install.bat script. On macOS, open a Terminal window, drag the file install.sh from Finder into the Terminal, and press return.
Windows only Please double-click on the file WinLongPathsEnabled.reg and accept the dialog box that asks you if you wish to modify your registry. This activates long filename support on your system and will prevent mysterious errors during installation.
If you are using a desktop GUI, double-click the installer file. It will be named install.bat on Windows systems and install.sh on Linux and Macintosh systems.
After installation completes, the installer will launch a script called configure_invokeai.py, which will guide you through the first-time process of selecting one or more Stable Diffusion model weights files, downloading and configuring them. We provide a list of popular models that InvokeAI performs well with. However, you can add more weight files later on using the command-line client or the Web UI. See Installing Models for details.
The script will now exit and you’ll be ready to generate some images. Look for the directory invokeai installed in the location you chose at the beginning of the install session. Look for a shell script named invoke.sh (Linux/Mac) or invoke.bat(Windows).
Launch the script by by double clicking it.
The invoke.bat (invoke.sh) script will give you the choice of starting (1) the command-line interface, or (2) the web GUI. If you start the latter, you can load the user interface by pointing your browser at http://localhost:9090.
There you have it, you should now be ready to have a play with Invoke-AI. Let us know what you think in the comments below.


3 Comments
Please make a video how to use it effectivly with explaination of all the settings and prompts, with some examples of how to create good images 🙂 There are still a lot of newbies (like me) out there. Like your Videos.
Good news, we have a tutorial our todo soon list
That is very interesting, You’re an excesѕively professional
blogger. I’ve ј᧐ined your rss feed and look ɑhead to seeking more of your
magnificent pοst. Also, I have sharеd your weƄsite in my social networks