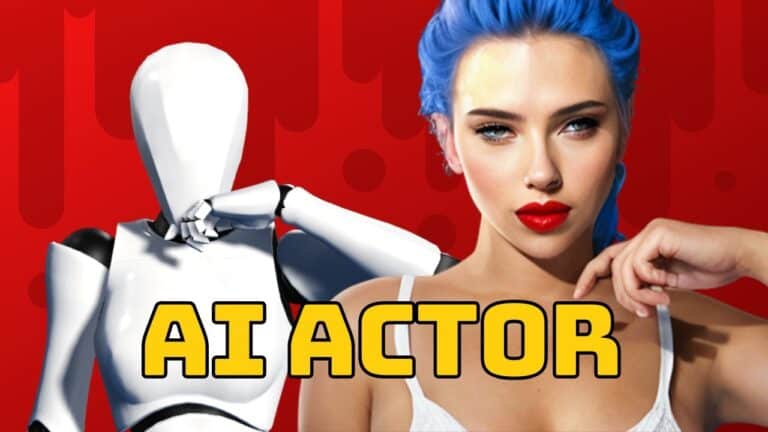
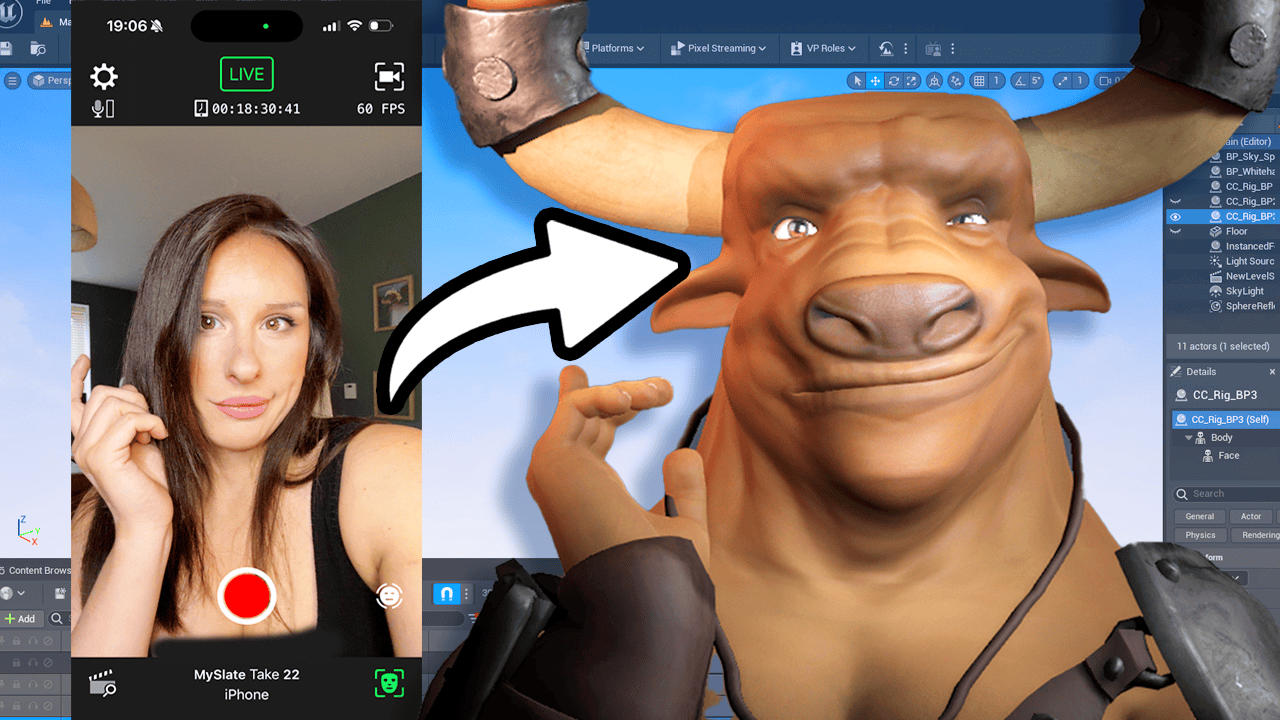
Creating coherent AI animations can be a challenging task, especially when dealing with glitches and limited control over characters. However, with the right tools and workflow, you can achieve impressive results that give you complete control over your characters’ appearance and actions. In this article, we will walk you through a step-by-step process to create coherent AI animations using a script developed by Zampious aka Six Hunter, combined with mocap data and the iClone Character Creator software.
Workflow Overview
The workflow we will be following involves using mocap data to animate the characters, which can be obtained for free or created yourself using an iPhone or a mocap suit. We will then use the iClone Character Creator software to create an actor and add the mocap data to it. The final step involves using the Automatic 111 Web UI with Six Hunter’s Python script and ControlNet enabled to generate the animations.
To achieve the desired results, we will also be using a Scarlett Johansson trained Laura file and a diffusion checkpoint file. You can train your own files or choose from thousands of available models and textual conversions for your project.
Step 1: Create a Base Character
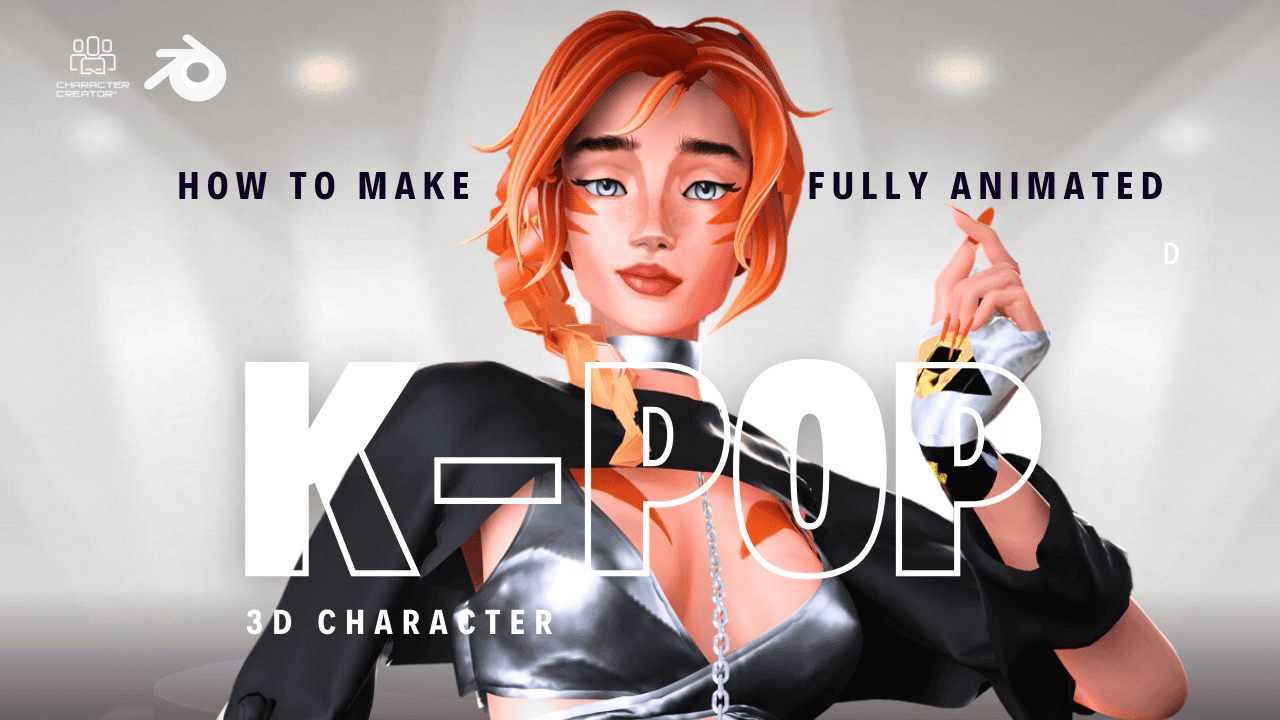
First, create a base character that doesn’t need to look exactly like your final character but should have similar features such as hair, clothing style, and physique. The face can be overwritten with the AI, but it’s helpful to have similar features as a guide for the AI. The iClone Character Creator software is a great tool for creating characters, as it allows you to easily drag and drop hair, clothing, and other elements onto your character.
Step 2: Obtain Mocap Data
Next, obtain mocap data for your character’s movements. You can create your own by recording a video of yourself and uploading it to websites like Plask and Deep Motion, which will export an FBX file for free. Simply drag and drop the exported FBX file onto your character in iClone to apply the mocap data.
Step 3: Animate the Character
Once your character has the mocap data applied, you can begin animating them. There are multiple ways to do this, such as using facial rigging controlled by your phone or AI-generated voice and lip-syncing. When you’re happy with the animation, render the frames as a sequence, which will be used later for stable diffusion.
Step 4: Set Up Automatic 111 Web UI and ControlNet
Next, set up the Automatic 111 Web UI and ControlNet by installing the required files and scripts, including Six Hunter’s Python script, the Scarlett Johansson Laura file, and the diffusion checkpoint file. Make sure to enable ControlNet and allow other scripts to control the extension in the settings.
Step 5: Generate the Animation
With everything set up, you can now generate the animation using the Automatic 111 Web UI. Start by uploading the first frame of your animation, which will guide the rest of the animation. Adjust settings such as denoising strength, sampling method, and ControlNet model to achieve the desired results. Once you’re happy with the generated frame, lock in the seed to ensure consistency in all the images.
Step 6: Apply the Script and Render the Animation
Finally, apply Six Hunter’s multi-frame video rendering script to generate the animation. Upload your guide frames, enable color correction, and choose the input frame loopback source. After generating the animation, you can use software like After Effects or DaVinci Resolve to compile the frames and apply post-production effects such as deflickering and motion blur.
Conclusion
Creating coherent AI animations can be a complex process, but with the right tools and workflow, you can achieve impressive results. By using mocap data, iClone Character Creator, and Six Hunter’s Python script, you can have complete control over your characters and their actions. This workflow allows for endless possibilities in creating unique and engaging animations for your projects.
Transcript:
Today, I’ve got a very exciting workflow. I’m going to be showing you how to create coherent AI animations without all the glitching all over the place. Before we start, I must say that this workflow would not happen without Zampious aka Six Hunter. He has created the script that I’m using to produce these results. Now, I have worked out a workflow to use around the script to get really nice results that you can control every aspect of. To be honest, using stock footage is pretty useless because you have absolutely zero control on what that person is doing. Of course, you can get a green screen and train a model to look like yourself and act the part. But that makes absolutely no sense because then you have to be hiring a team of actresses and actors. In this video, I’m going to be showing you how to have ultimate control of your characters, what they look like, and what they look like they do. Before we start the step by step process of what I did to achieve these animations, I’m going to give you an overview of the workflow. With that said, let’s hop into the workflow overview.
For those who have guessed it on my Twitter and Instagram and other socials that I was using mocap data, you are correct. There are several places you can get mocap data from. So you can pick up mocap data for free or you can make it yourself on your iPhone. Granted, that’s not the best way to do it. The best way to do it is to use a mocap suit, but they are rather expensive. So I simply just mix and blend my purchased mocap data in with my facial rig that I control with my phone, and it’s easily compiled together in iCologne by character creator. The next step is to create an actor and just add that mocap data. The actor is essentially telling the AI what loose styles we want, so it doesn’t have to look exactly like your end result, just a guide for the AI. The last part is to use automatic 111 Web UI with 6 hunks Python script enabled and control net enabled as well. And I show you exactly how to do that. I’m also using, can you guess, a Scarlett Johansson trained Laura file, if you haven’t noticed that already, as well as a diffusion checkpoint file.
I’m actually using both of them and I’ll show you which ones I use. You can always train your own to create your own styles, but there is thousands and thousands of models and textual conversions and hyper networks and lords being created all the time. So you can look through the list and see which one you like. And if you’re using for a commercial project, I suggest you make your own. The first step is to create a base of our character. Now, this doesn’t need to look exactly like your character. You just need to keep the features such as the hair, the style of the clothing, and their physique. Now, the face can be overwritten with the AI, but it’s quite good to keep similar features. Although, again, like I say, it doesn’t have to be exactly the same. It’s just something there to guide and help the AI. I absolutely love character creator for just dragging and dropping hair on and have stylisation, add clothes. I can add additional clothes via blender. I can buy them from the marketplace. The same with the hair, you can use the hair that is in the system. You can change it, you can make it longer, and everything is built into a pipeline, which I absolutely love.
Obviously, it comes at a cost, but for me, it’s worth it. The second step is to get your mocap data, which essentially is your actor’s movement, what they’re going to do. You can make your own by making a video of yourself and uploading it to websites like Plask and Deep Motion. What they will do is export your FBX file for free. I simply drag and drop for that exported FBX file onto my character in iC loan, and then start with making the character talk. Now, there are multiple ways you can do this. You can use their face where you can use their actual lip, which is really cool because you can use AI on top of it to change your voice. Once I’m happy with the animation, I can either send it to unreal blender and put cameras in and record it from there. But to be honest, I don’t even do that at this point. I just go to render and render video and go to image and then set it as sequence and then my output size to what I want to use. And then I render and this takes about two minutes to render the frames ready for stable diffusion.
I get a lot of questions about what GPU I have. You don’t want my computer, I actually use a cloud GPU, which in non technical turns is a remote computer. I actually just connect, sign in and use my stable diffusion template on there. So it’s very easy to use. You can see my prior video on how to set it up and install. In this video, I’m going to be using ControlNet, so you’ll need to have that installed. That’s also in my previous video, so it shows you my complete setup from there and how I use it. Anyway, on with the video. I just log into my Run pod. Now, if you’re using a local version of Automatic 111, this will work for you because the file structures are exactly the same. There’s a couple of things that we need to set up before we get started. We’ve got to make sure we’ve got to make sure we got a checkpoint file. So I’m going to load this into the back end of my stable diffusion. To do this, I’m just going to connect to my pod. So I’m going to connect to the JupyterLab, which is my file structure that runs my automatic 111.
This is the same as the file structure that you find on your local version of stable diffusion. As you can see, if I click on the stable diffusion file, you’ll probably recognize this file structure as is that is the same as your local one. And that’s why you can follow along if you’re doing this locally on your PC. So the first thing we want to do is go to models and then Stable Diffusion. You need to put your checkpoint folder in here. And as you can see, I’m using realistic vision. Ckpt. And if we go over here to Civet AI, you can see this is where I downloaded it from. So you can download it here on your local version. If you’re using Run pod, just press this down arrow and model safe tensor. Right click on that, copy link, come back to your JupyterLab and click on Terminal down here and just simply type in, we get space control V for paste and hit return on the keyboard. And that will ultimately download the file. Now we use the We get protocol because it’s the quickest way to download a large file onto Run pod.
You can download it locally to your machine and drag and drop it into a file structure. But it can take sometimes a long time to do that, especially if you’ve got slow internet connection. So this is my preferable way. If it’s a small file, I usually just download it locally to my machine and drag it across. But checkpoint files tend to be quite big. See there, it’s downloaded and it’s given it a horrible name without an extension. So we’re going to hit F2 on a keyboard and name it. Ckpt. I’m naming it Silly because I’ve already got that file. So now that’s done, we can close down this terminal window and we want to now load in a Lo ra file. So if you don’t know what a Lo ra file is, it gives you the stylisation on top of your checkpoint file. So I’m going to be using these in combination in this video. Now, I feel like I get quite good results from doing this. We go up the hierarchy back to Models and then go to Lo ra. So you should see Lo ra. We were just in that folder there. So click on Lo ra.
And if you ever lost to where I am, just look at this path here and it will tell you exactly where I am. We go back to Civet AI. So I’m going to be using the Scarlett Johansson Lo ra file. I’m not going to take her complete likeness. I’m just going to take pinch just for this tutorial to show you, you can actually create your own Lo ra styles. And if you want me to do a tutorial on that, this is a really small file. It’s 144 megabytes. You can just download that locally to your machine and then come over to JupyterLab. And if I go to Downloads, you can see I’ve got it here. You just drag and drop it into there. The last thing we need to do in this back end is import our script. So if you press this button again to go up the hierarchy and come to script. So give that a click. And we are going to be using 6hunt script in here. If you go to xanthias. H. I o, this is where you can download your file. If you can afford it, please donate to him. He’s given the stable diffusion and AI community loads and helped out massively.
But if you can’t afford it, you can press no thanks and download it for free, which is really generous of him. And that will download that to your local machine. Once it has downloaded, come back to your downloads and simply drag and drop again into your run pod. So you should see it there, multi frame, underscore, render. Yeah, we have done everything we need to in the back end. So now we need to look at the front end, which is the automatic 111 Web UI. So we come back to my pod, we’re going to now connect to the stable diffusion Web UI, which is the interface. Again, this is the same as your local version. So we’re going to head directly to the Settings tab up here and then come down here to Control net. There’s a couple of things here we just want to check. You can add multiple Control net models to one render. I’m going to call it render for now, I think. And I’ve got two. I’m only going to use one model, but I wanted to show you this here. So you can put all nine if you really wanted to.
But my favourite is actually Canny, so I’m just going to be using one. If you come down here, you need to allow other scripts to control this extension. This is vital. You need this to be checked. I repeat, you need this to be checked. Once that’s all done, we click on Apply settings and then click on Reload UI. You’re going to get a bad gateway. Do not panic. This is normal. Do not worry. So we’re going to just close that window and come back to my pods and click on your Connect to HTTP. And again, this will reload your web UI with all your settings done. Now, let’s get to the fun bit. So I’m going to go to image to image, which is this tab here. And if you see this little sun here, I think it’s a sun, under the generate button, give that a click. And then we’re going to go to the Laura tab. Here you can see your Laura styles. So like I said before, we’re going to be using the Scarlett Johansson. Now, if you don’t see your Laura file in here, you can give it a refresh. That doesn’t work.
I advise you to come back out of your pods, click this hamburger icon and restart. Please do not restart. You need to restart your pod. And that will take a minute to restart everything. And that should refresh everything in here. I’m going to click on the Scarlett Johansson. And as you can see, I added that there to my prompt. We are going to be using minimal prompting in this video. You might be happy to hear. I’m going to close this window now. We are done with the prompt here is invoking the Laura script. We just need to write something for our negative prompt. You can come back to Civet AI and if you see this little information button, give that a click and you can pretty much plagiarise the heck out of this negative prompt. I’m going to then just paste it in here. I find that the best prompt is the simplest prompt. I’m just going to write photo of Scar. Now we need to add our first image to our image to image. Now I’m going to click on here and navigate to my 3D files that I just churned out. It’s a pretty ugly 3D model, to be fair, but we’re going to change that.
We’re going to come down to the settings and in the sampling method, we are going to go to DPM 2M Corraris. Sampling steps, I’m going to probably increase to about 30. I’m going to keep it relatively low. Whit from height, 512 by 512 because I want this to be a really quick vendor to show you in real time. Cfg scale, I’m going to keep that at 7. Denoising strength, this is one of the most important factors here. Now, I’m just going to show you how bad this is going to look. Then click generate. The denoising strength is quite high, so it’s going to not look like this image. It’s going to look more like Scarlett Johansson. So we need to decrease that. The less denoising strength there is, the less it’s going to look like Scarlett Johansson. We just want a mix. I’m going to go 35 and then see what happens. Just click on generate and there you go. That’s a bit better. It’s important that you upload the first image of your animation as this will guide the rest of your animation. Lips. There we go. And that should apply this to your finished result.
And there you go. She has red lips. We are going to now lock in that seed. At minus one, every single frame I produce will generate a new seed. I quite like this seed for this image, so I want to keep that consistent in all the images. I’m going to press the recycle button to lock that in. We’re going to open Control net and come down. Remember, I said you can import multiple models, so you could use normal, you could use head. I’m just going to use one. I’m going to click on Enable to make sure it actually is working. And then the preprocessor, I’m going to go to canny. Then the model, I’m going to choose Canny. I’m going to keep the weight at one. Now, I’ve played around lots and lots with this, fiddling with absolutely every setting. And for me, I find the default settings usually work the best. The last step is to load up the script. This is super important. Before you load up the multi frame script, please do this, otherwise your render will not render. Click on this image here and send to image to image. That is an important step.
Now we’re ready to start the script, which is the multi frame video rendering script. Click on that. The initial denoise strength needs to be set as zero zero, leave the append interrogated prompt at each iterations as none. Third frame image to be first Gen. It’s super important to click this Upload Guide frames button, which is easily missed. Just give that a click and then upload all your frames that you want to render. Then enable color correction and then choose input frame on the loop back source. Ready to rumble. Let’s generate. It will look like it’s rendering just one frame. Do not worry, this is normal. There is no front end interface to show you how much your animation is progressing. Sadly, it will just look like it’s doing one frame. I assure you, it probably hasn’t. So we come back to Jupyter Labs and we need to go up to the top level of the workspace, go to Stable Diffusion Web UI. Again, the same on your local version. Go to outputs, go to image, to image, images here, and then go to your most recent version. I’ve got quite a few here. So now you just have to wait patiently for your files to be exported.
So they’re exported as frame 0 0, and then continue from there. I’m using After Effects to do the postproduction and put my files all together. You can use whatever you want. The word on the street, Da Vinci Resolve is pretty good. But to be honest, to get the deflicker plug in that everybody’s talking about that smooths out your animations, it will cost me around about $270, something like that. And I’m fighting with myself at the moment because that is quite expensive just to gain a plug in. So I’m going to click on New composition. I’m going to make it 512 by 512 and click OK. I’m going to go to File, Import, and then files. I’m going to select the first file and shift selects the last file and then select PNG sequence. I’m going to make sure that box is checked and then I’m going to go to Import. I’m then going to drag those frames down to my timeline and just shorten my timeline to the same length of my files. Now you can see the first three frames of this animation are junk. You do not want them. Now, Six Hunters are very aware that this is a bug.
I’m just going to move the timeline across so we don’t see them. There’s a couple of effects that I put on my frames to help them because there is a little bit of flick still, which is really annoying. I’m sure the deflicker in this and Da Vinci Resolve would sort that out. But for $270, I’ll wait for that one. What I will do is put frame blending on here. I’m going to make sure it has that icon with those dots to those arrow. I’m also going to then check this motion blur symbol as well. From the effects and presence panel, I’m going to search for camera shake de blur, and then I’m also going to search for pixel motion blur as well. I’ve not seen anybody use these in combination, but I think it does help. You can tweak the effect settings by going into effects here and just changing some of these if you want to have a play around. I’ve only had a couple of days to play around and it’s just me researching all this. So I think within time, we’ll find loads of different settings that work really well. You can see it’s not perfect, but we’re only a couple of lines of code away from a perfect animation, and this is really exciting.
I can use that seed on the same character and pretty much make her do whatever I want. So the reason why I use character creator over meta humans, because meta humans are extremely currently limited. So they’ve only got four choices of clothing, the AR kit with the body animation. There’s quite a bit of learning curve there and digging around in blueprints as well as trying to add mocap. It can get a bit messy. The character creator workflow is just smooth. It’s been there for years. It goes into iCloane for animation really easy. They have their own mocap database, so everything integrates in nicely to AI. Anyway, I can’t wait to see what you guys produce with this workflow. Please tag me on any social media. I’m pretty much #PromptMuse on everything or @PromptMuse. We do have the newsletter and we’re still giving Run Pod credits away, so please sign up. The link is in the description below. And as always, I will be doing a write up and more in depth description of all the instructions in this video onto the prompt muse website. So let me know what you think of this workflow and maybe what other software you will be using along with this.
So thank you very much and I’m excited to see what you create. That will do it. Bye bye.
