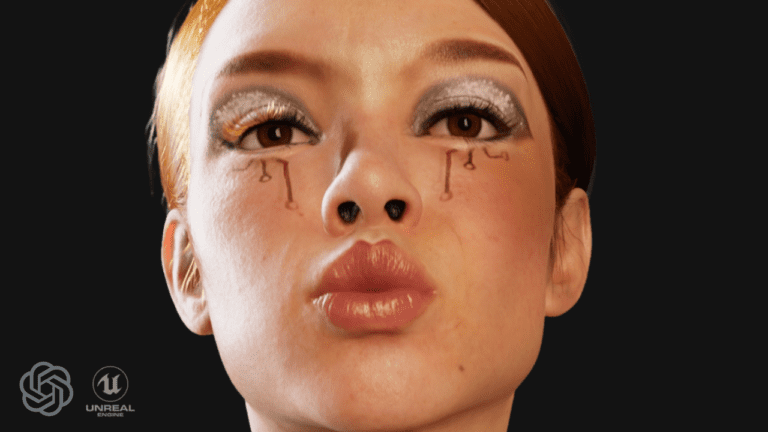
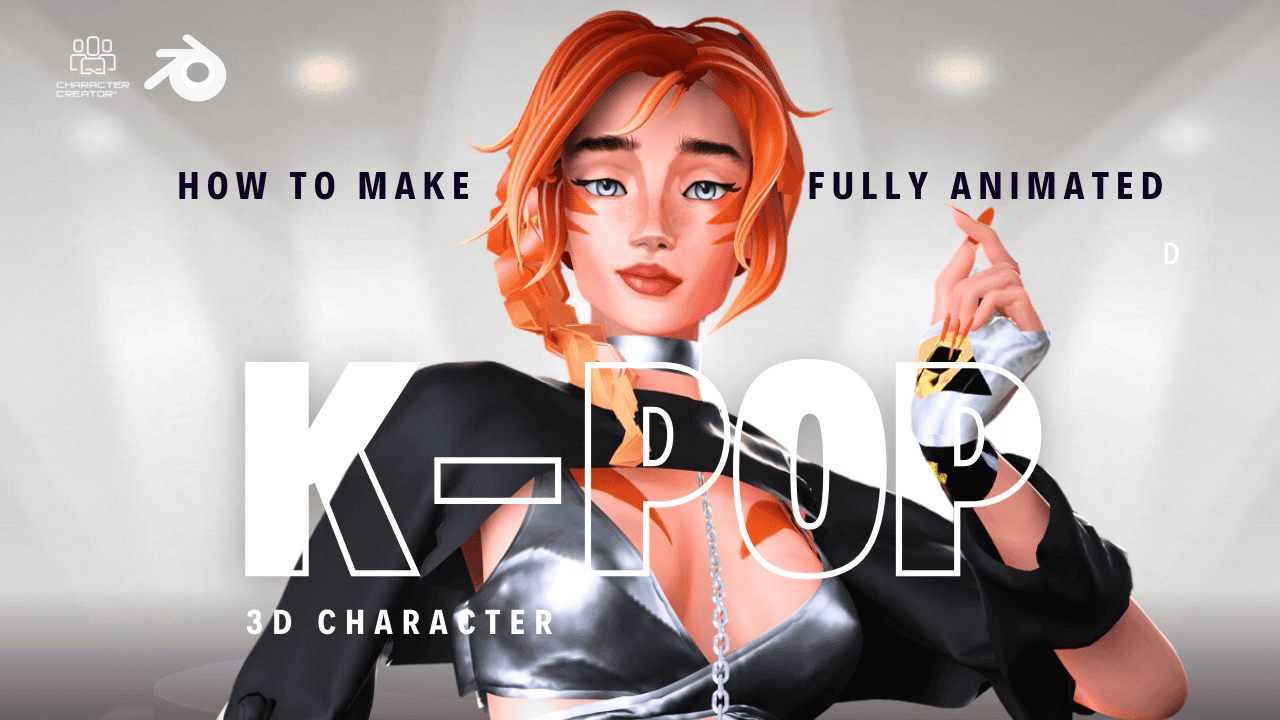
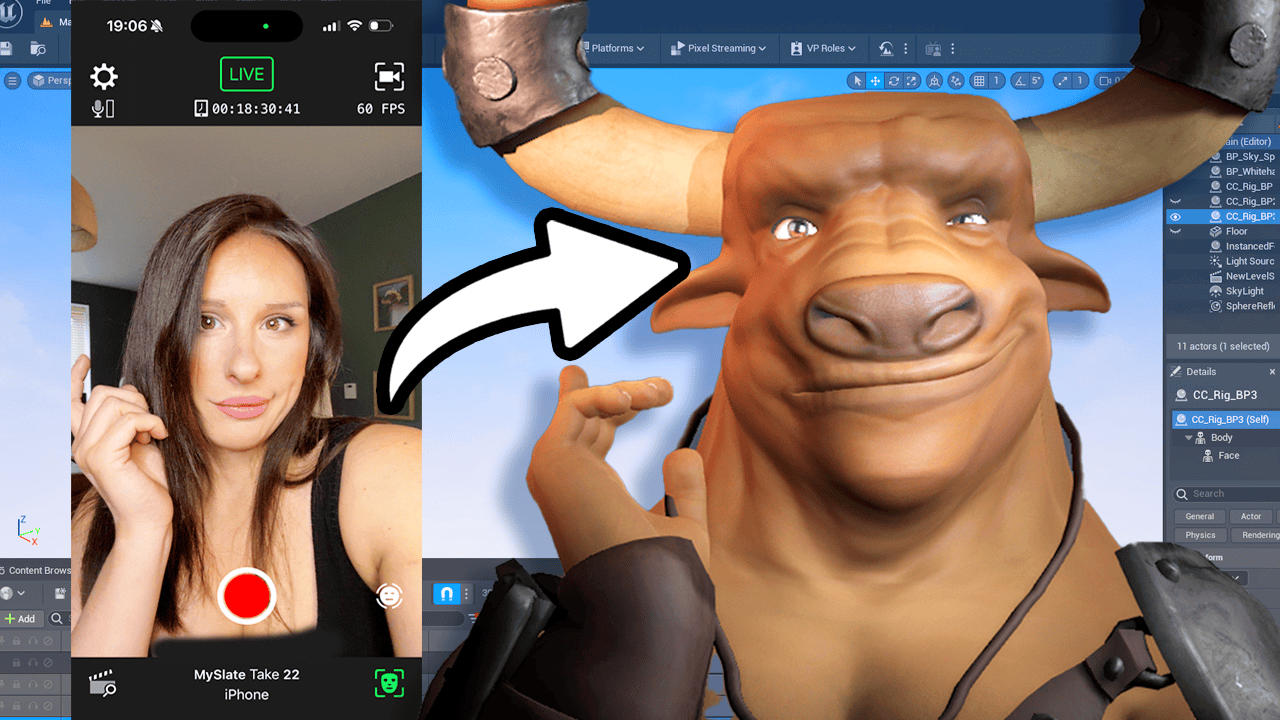
Welcome to this tutorial on how to turn an AI generated character into a 3D animated character. This workflow can be used to create AI influencers, bring a music video to life, or even create a feature film.
Before we begin, you will need a trained model to produce the head shots. You can either follow a tutorial to create your own unique trained AI model, or use the one provided in this tutorial below.
Please select what is compatible for your phone as you may require a different type of adapter:
Apple Lighting to Ethernet
RESOURCES: Download Redhead.ckpt my model from HERE
Stable Diffusion (Use local or remote)
Step 1: Gather Pose Reference Images
Take some photos of yourself to use as headshot references. These photos will be used to ensure that the output pose of your AI generated character is consistent when it is run through stable diffusion. It is important to note that the reference images do not need to look like the final character.
Step 2: Use Automatic1111 webui (You can use either local or remote- I’ll add a tutorial soon!)
Use Automatic1111 webui to run stable diffusion 1.5. Load your Redhead.ckpt into the models file within the Automatic1111 directly.
Step 3: Run stable diffusion
In stable diffusion, select your redhead.ckpt from the drop-down list. Navigate to the img to img tab and upload your front, side, and perspective headshot references.
Step 4: Create consistent images of your character
Use your reference images as an img to img reference to create consistent images of your character.
With these steps, you should now have a 3D animated character that is based on your AI generated character. Be creative and experiment with different poses and animations to bring your character to life!
Blender
Use the Facebuilder plug-in to create a 3D model head mesh that is based on the reference images. This tool is very useful as the sculpting tools in meta human are limited and can be very laggy. However this stage is optional.
Step 1: Download and Install Blender here (its free) the Facebuilder plug-in by Keen tools here
Step 2: Open Blender and import your reference images
Step 3: Use the Facebuilder plug-in to create the 3D model head mesh
Step 4: Export your head mesh as a .fbx files.
Note: The creator of this tutorial is not paid in any way to promote the Facebuilder plug-in. It is just a tool that they found useful and thought others may also find it helpful.
With these steps, you should now have a 3D model head mesh that is based on your reference images. You can now continue to the meta human creator section to bring your character to life with animations and other features.
Epic Launcher & Unreal
Step 1: Follow this link here to download Epic game launcher and unreal engine.
Please avoid 5.1 (new release ) due to compatibility issues with meta humans. I’m sure there will be an update soon to fix a few of the issues, but until then I’d advise downloading Unreal version 5.0.03
Once above installed get Quixel Bridge for Unreal Engine
https://docs.unrealengine.com/5.0/en-US/quixel-bridge-plugin-for-unreal-engine/


